How to Use the Title and Web Address (URL) Functions
Titles and URLs are the first thing a user is shown when browsing a page on your subsite, and they use them to understand the purpose of the page they are visiting. Because of this, it is important to make sure titles and URLs communicate the purpose of your page.
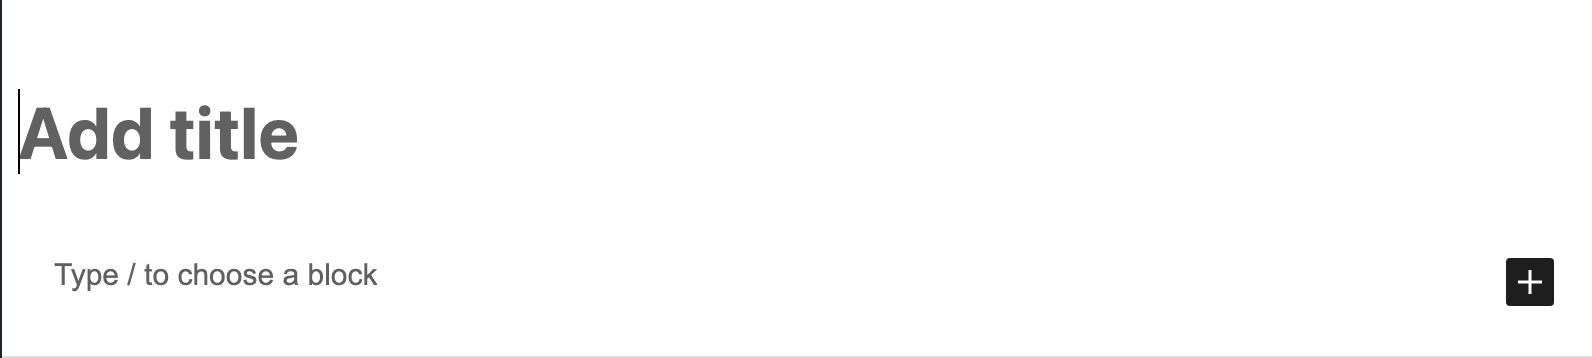
First, you will create a title for the page in the first text box at the top of the page where it says “Add title” as shown in figure 1 below. Refer to the Editorial Style Guide for tips and guidance on creating a title with web writing best practices that is best for both accessibility and SEO (Search Engine Optimization).
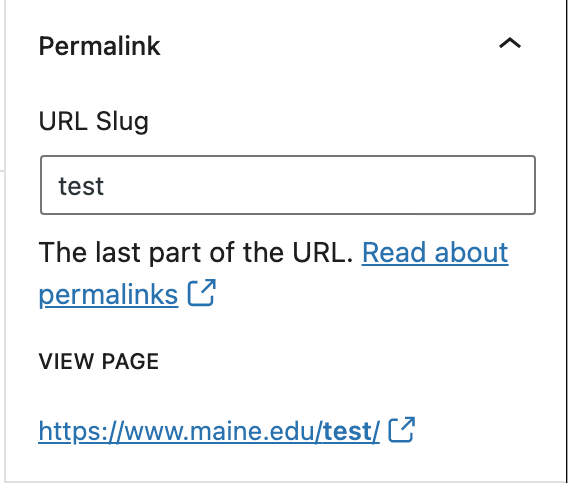
After you have created your title, you will find the Permalink section on the right hand side of your screen, as shown in figure 2. This indicates what the URL of the page will be when the page is published. The default setting is that the “slug,” or final section of the URL after maine.edu, subsite and any parent pages, is the page title. There may be times you do not want the URL to contain the page title, for example if you have a very long page title but want a short URL. To change the “slug” in the URL, you can click inside the Permalink field and manually change.
Example of subsite, parent page, and slug position in a URL:
https://www.maine.edu/subsite/parent-page/slug/
So, for this webpage (https://www.maine.edu/content-management/wordpress-basics/title-url/) the subsite is “content-management,” the parent page is “wordpress-basics,” and the slug is “title-url.”
Note: You are also able to edit these functions when editing an existing page, which are found in the same areas on the “Edit Page” page.