How to Use the All Pages Page
Navigating from the Dashboard page, if you hover or tab over “Pages” in the sidebar menu, a menu will appear to the right with two options: “All Pages” and “Add a Page.”
“All Pages” will bring you to the “Pages” page with a list of all pages on that subsite.
“Add a Page” will bring you directly to a back end editing web page where you can add and edit a new page for the subsite. If you click directly on “Pages” you will be brought to the “Pages” page, seen in figure 1 below.
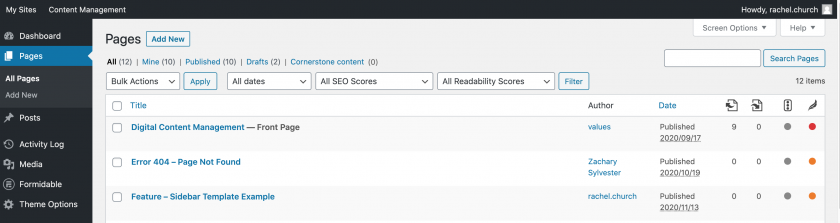
On the “Pages” page you will find an “Add New” button at the top of the page. Clicking this button will take you to a blank editing page where you can add and edit a new web page for your subsite. Below the “Add New” button is a list of all pages on your subsite. You can organize this list by clicking on “title” or “date” in the table header. You will also find the author of the page, and if the page is private (which means that the page can only be viewed by editors and administrators when they are logged in) or password protected (which means that the page can only be viewed with a password).
If you hover over a page, you will see the following options, shown in figure 2 below: “Edit”, “Quick Edit”, “Trash” and “View”.
“Edit” will take you to the “Edit Page” page where you can edit all aspects of that particular page.
“Quick Edit” allows you to quickly edit some attributes of the page.
“Trash” will delete the page.
“View” will bring you to the page as it would be viewed by a visitor to your subsite.
If you click on a page title you will be brought directly to the “Edit Page” page.
